How to Build and Install Kitchen Cabinets – A Complete Guide
When it comes to kitchen renovations, cabinets play a huge role in both functionality and aesthetics. If you’re planning a new kitchen setup or upgrading an existing one, knowing how to build and install kitchen cabinets is essential. Among the many options available, aluminium lower kitchen cabinets are gaining popularity for their durability, modern look, and low maintenance.
In this guide, we’ll walk you through the complete process of building and installing kitchen cabinets, with a special focus on why aluminium is a smart choice for your lower cabinet setup.
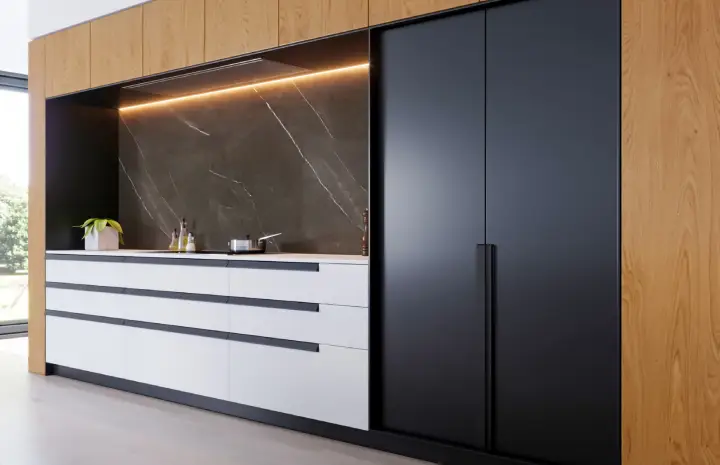
Why Choose Aluminium Lower Kitchen Cabinets?
Before we dive into the building process, let’s explore why aluminium is an ideal material for lower cabinets.
- Durability: Aluminium is resistant to rust, moisture, and pests, making it a long-lasting choice for kitchens.
- Low Maintenance: Unlike wood, it does not warp or rot, and it’s easy to clean.
- Modern Aesthetics: Aluminium provides a sleek, contemporary look that complements both modern and minimalist kitchen designs.
- Fire & Heat Resistance: Perfect for kitchens where high temperatures are common.
- Eco-Friendly: Aluminium is 100% recyclable, making it an environmentally conscious choice.
Tools and Materials You’ll Need
To build and install aluminium lower kitchen cabinets, gather the following:
- Aluminium cabinet panels and frames
- Cabinet doors (aluminium or aluminium-clad options)
- Measuring tape
- Carpenter’s square
- Electric drill and screwdriver bits
- Screws and rivets
- Spirit level
- Adhesive sealant (optional)
- Wall anchors and mounting brackets
- Protective gloves and safety glasses
Step 1: Plan Your Kitchen Layout
Before starting construction, you need a clear kitchen layout. Measure the available floor space and mark where the lower kitchen cabinets will go. Consider:
- Appliance Placement: Ensure there’s space for ovens, dishwashers, and refrigerators.
- Work Triangle: Maintain a comfortable distance between the stove, sink, and refrigerator for efficiency.
- Cabinet Depth & Height: Standard lower cabinet depth is 24 inches, and height is around 34–36 inches.
Step 2: Build the Aluminium Cabinet Frame
Aluminium lower kitchen cabinets often come as modular units, but you can also custom-build them.
- Cut the Aluminium Panels: Use a fine-toothed blade suitable for metal cutting.
- Assemble the Base Frame: Join the panels using rivets or screws. Ensure all corners are perfectly square using a carpenter’s square.
- Attach the Back Panel: Secure the back panel to the frame for added stability.
- Install Adjustable Feet: These help level the cabinet on uneven floors.
Step 3: Prepare the Installation Area
Before installation, prepare the kitchen space:
- Remove any debris or dust.
- Check the floor for uneven spots and make adjustments.
- Mark a horizontal line on the wall to ensure your cabinet tops are level.
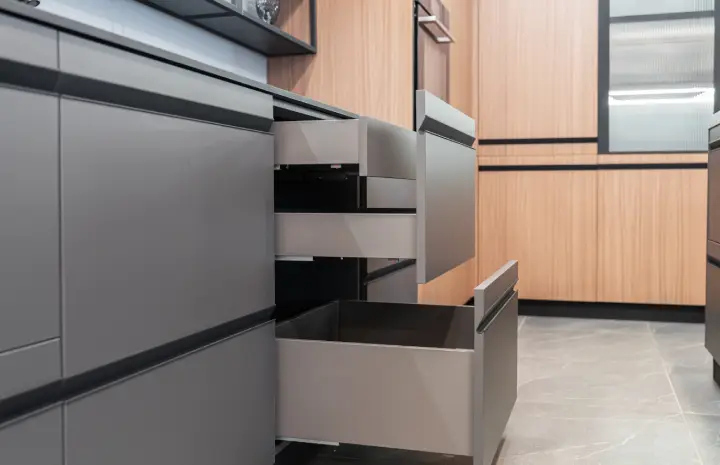
Step 4: Install the Lower Cabinets
- Position the First Cabinet: Start from the corner and place your first aluminium cabinet frame against the wall.
- Level and Secure: Use a spirit level to make sure it’s perfectly level. Adjust the feet if necessary.
- Attach to the Wall: Drill holes in the wall and use anchors or brackets to secure the cabinet frame.
- Join Multiple Cabinets: When installing multiple cabinets, clamp them together before securing to ensure alignment.
Step 5: Add Doors and Hardware
After the frames are in place:
- Attach Hinges: Aluminium doors require strong hinges for smooth operation.
- Install Handles or Pulls: Choose designs that match your kitchen’s aesthetic.
- Check Door Alignment: Adjust hinges if doors are not flush.
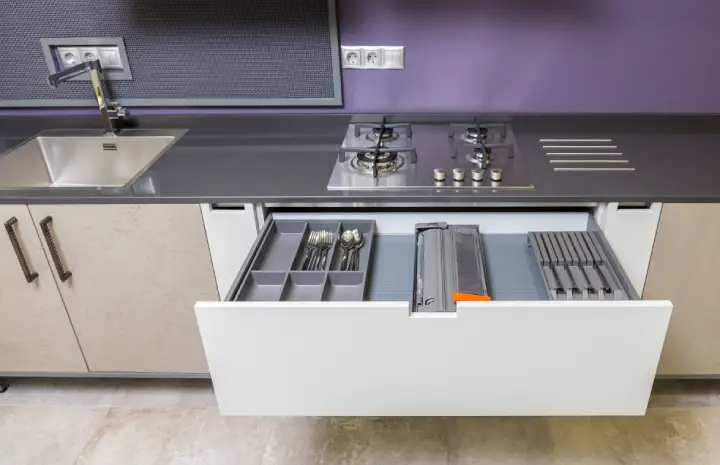
Step 6: Install the Countertop
Most aluminium lower kitchen cabinets are designed to hold countertops made of granite, quartz, or laminate.
- Place the countertop on top of the cabinets.
- Secure it using screws or adhesive depending on the material.
- Seal any gaps with silicone for a clean finish.
Step 7: Finishing Touches
- Check all screws and fittings for tightness.
- Clean the cabinets with a non-abrasive cleaner.
- Add skirting or toe-kicks if needed to hide cabinet feet.
Maintenance Tips for Aluminium Lower Kitchen Cabinets
- Regular Cleaning: Wipe with a damp cloth and mild detergent.
- Avoid Harsh Chemicals: They may damage the finish.
- Lubricate Hinges: Use silicone spray to keep them smooth.
- Inspect for Loose Screws: Tighten as needed to prevent wobbling.
Benefits of DIY Installation
- Cost Savings: You save on labour costs by doing it yourself.
- Customization: Tailor the design to suit your kitchen style.
- Skill Development: Learn valuable skills for future projects.
Conclusion
Building and installing aluminium lower kitchen cabinets is a rewarding project that combines practicality with modern style. With proper planning, the right tools, and attention to detail, you can transform your kitchen into a sleek, functional space that will last for years. Aluminium’s durability and low maintenance make it a smart choice for homeowners looking for both beauty and resilience in their kitchen cabinetry.
Whether you’re doing a full kitchen remodel or just upgrading your storage, this guide provides the step-by-step process to ensure your cabinets are installed securely and look great.