Freestanding Pergola Installation Guide
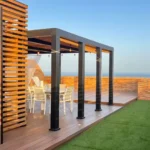
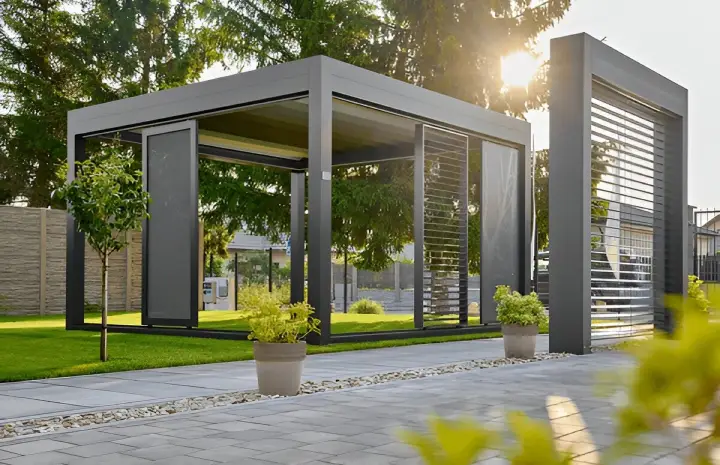
A freestanding pergola is one of the most versatile and stylish additions you can make to your outdoor living space. Unlike attached pergolas, which connect to an existing structure, a freestanding pergola stands independently, giving you the freedom to place it anywhere — in the garden, beside the pool, or as a centerpiece in your backyard.
Whether you want a shaded dining area, a cozy lounge spot, or a decorative focal point, this Freestanding Pergola Installation guide will take you step-by-step through the planning, building, and finishing process.
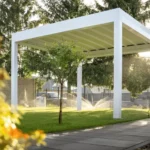
Why Choose a Freestanding Pergola?
Before diving into the installation process, it’s worth understanding the benefits:
- Flexible Placement – Set it up anywhere without worrying about wall attachments.
- Increased Outdoor Living Space – Create a comfortable shaded area for gatherings.
- Aesthetic Appeal – Adds an architectural element that enhances property value.
- Customizable Design – Choose materials, size, and style to suit your preferences.
- Ideal for Any Landscape – Works equally well in gardens, patios, and open lawns.
Step 1: Planning Your Pergola
Every successful project starts with proper planning. For Freestanding Pergola Installation, consider:
- Location – Choose a spot that offers the best view and accessibility.
- Purpose – Decide whether it will be for lounging, dining, or decoration.
- Size – Measure the available space to determine the pergola’s dimensions.
- Sunlight & Shade – Position the structure to maximize comfort.
Also, check your local building codes to see if you need a permit before starting.
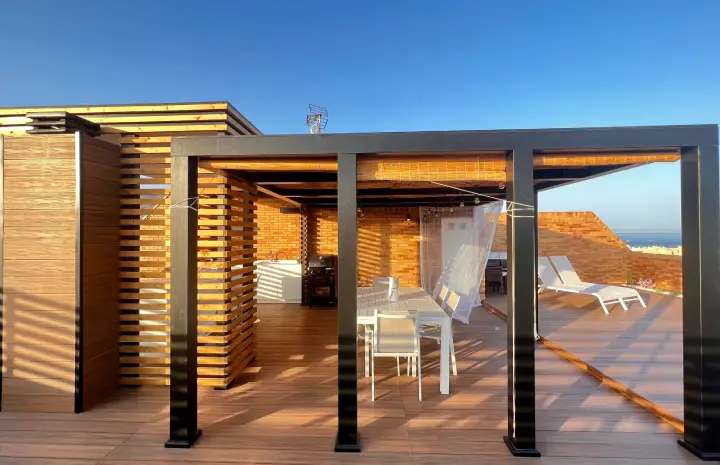
Step 2: Choosing Materials
Your material choice will impact both the appearance and longevity of your pergola.
- Wood – Classic and natural look; cedar and redwood are naturally weather-resistant.
- Metal – Modern, sleek, and durable, often requiring less maintenance.
- Vinyl – Low-maintenance and resistant to rot or rust.
For a long-lasting structure, use weather-resistant materials and hardware.
Step 3: Gathering Tools and Supplies
Before beginning your Freestanding Pergola Installation, gather the necessary tools:
- Measuring tape
- Level
- Post hole digger
- Concrete mix
- Drill and screws
- Saw (if cutting your own lumber)
- Safety gear (gloves, goggles)
Step 4: Preparing the Site
Clear the installation area of any debris, plants, or obstacles. Mark the corners of your pergola using stakes and string to create an accurate outline.
Step 5: Installing the Posts
The posts form the backbone of your pergola, so they must be securely anchored.
- Dig Holes – Each hole should be 24–36 inches deep (deeper in frost-prone areas).
- Position the Posts – Place each post upright, checking alignment with a level.
- Secure with Concrete – Pour concrete into each hole, allowing it to set for at least 24 hours.
Step 6: Attaching Beams and Crossbeams
Once the posts are set:
- Attach main beams horizontally across the posts using heavy-duty bolts.
- Install crossbeams perpendicular to the main beams for added stability and design.
- Use a level to ensure proper alignment for a neat, professional look.
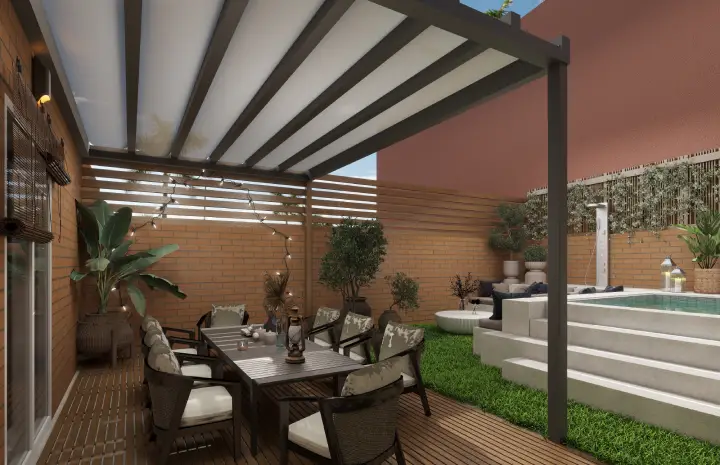
Step 7: Adding Rafters or Shade Elements
Depending on your design, you can add:
- Rafters for partial shade and structural support.
- Lattice panels for climbing plants.
- Shade cloth or canopy for full sun protection.
- Polycarbonate panels if you want rain shelter.
Step 8: Finishing Touches
The finishing stage is where your pergola truly comes to life:
- Paint or Stain – Protects the structure and enhances its appearance.
- Lighting – String lights or lanterns create a cozy evening atmosphere.
- Decor – Add curtains, hanging plants, or outdoor furniture.
- Flooring – Install a deck, pavers, or gravel base for a polished look.
DIY vs. Professional Freestanding Pergola Installation
DIY Installation can save money if you have building skills, the right tools, and time. However, it requires precision to ensure safety and durability.
Professional Installation ensures expert craftsmanship, code compliance, and efficient project completion. If you want a stress-free experience and perfect results, hiring professionals for your Freestanding Pergola Installation is the better choice.
Common Mistakes to Avoid
- Inaccurate Measurements – Can lead to uneven posts and poor stability.
- Weak Anchoring – Causes the structure to tilt or collapse over time.
- Choosing the Wrong Materials – Non-weatherproof materials will deteriorate quickly.
- Ignoring Permits – Can result in fines or forced removal of the structure.
Maintaining Your Pergola
To ensure your freestanding pergola lasts for years:
- Inspect annually for loose bolts, cracks, or rust.
- Clean regularly to remove dirt and prevent mold growth.
- Reapply paint or sealant every 1–2 years for weather protection.
- Trim plants if you’re growing vines to prevent structural strain.
Final Thoughts
A freestanding pergola can transform your backyard into a beautiful, functional, and inviting space. By following this Freestanding Pergola Installation guide, you can either build it yourself with confidence or know exactly what to expect when hiring professionals.
With the right design, quality materials, and proper maintenance, your pergola will provide shade, style, and outdoor enjoyment for years to come.