Free Standing Pergola Assembly Instructions
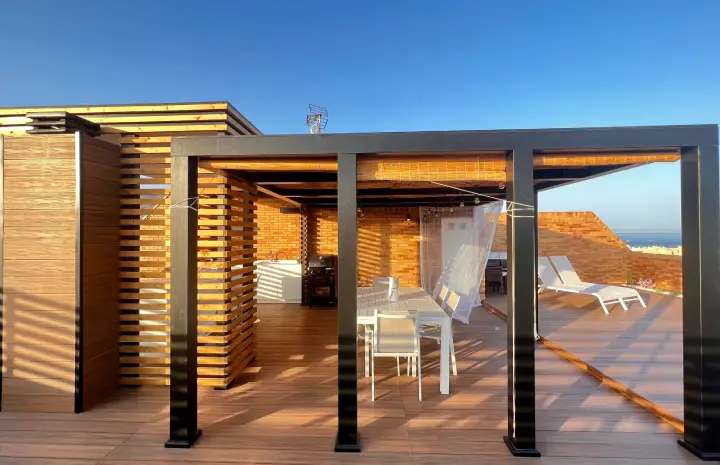
A freestanding pergola can transform your outdoor area into a stylish and functional space, perfect for relaxing, entertaining, or dining. Unlike attached pergolas, which rely on a building for support, a freestanding pergola stands independently, allowing greater flexibility in placement and design.
If you’re planning a Freestanding Pergola Installation, having clear assembly instructions is essential for building a safe, durable, and beautiful structure. This guide will walk you through the process, step-by-step, so you can assemble your pergola with confidence.
Tools and Materials You’ll Need
Before starting the assembly, make sure you have the right tools and materials ready. For most freestanding pergolas, you will need:
Tools:
- Measuring tape
- Spirit level
- Cordless drill
- Wrench or socket set
- Post hole digger
- Saw (if cutting lumber yourself)
- Rubber mallet
- Ladder
- Safety gloves and goggles
Materials:
- Pergola kit or selected lumber/metal parts
- Concrete mix
- Bolts, screws, and brackets
- Weather-resistant paint, stain, or sealant
- Shade fabric, lattice, or polycarbonate roofing (optional)
Step 1: Planning Your Pergola Assembly
The first step in any Freestanding Pergola Installation is careful planning. Decide:
- Location: Choose a spot with level ground and enough space for the pergola dimensions.
- Purpose: Will it be for dining, lounging, or decorative purposes?
- Size: Measure the intended space to determine height, width, and depth.
- Sunlight Direction: Position the pergola to maximize shade during peak hours.
Also, check your local building codes to see if permits are required.
Step 2: Preparing the Site
- Clear the Area: Remove grass, plants, or obstacles from the installation site.
- Mark Post Positions: Use stakes and string to outline the shape and mark where each post will go.
- Ensure Level Ground: If the ground is uneven, level it to avoid instability later.
Step 3: Installing the Posts
The posts are the foundation of your pergola, so they must be anchored securely.
- Dig Post Holes: Each should be 24–36 inches deep, depending on soil conditions.
- Insert Posts: Place each post in its designated hole and check for vertical alignment using a level.
- Secure with Concrete: Fill the holes with concrete mix, ensuring posts stay level while drying. Allow at least 24 hours for the concrete to cure fully.
Tip: For long-lasting stability, use pressure-treated wood or rust-resistant metal posts.
Step 4: Attaching the Main Beams
Once the posts are secure:
- Position the Beams: Align them horizontally across the top of the posts.
- Secure with Bolts: Use heavy-duty bolts or brackets to attach the beams to the posts.
- Double-Check Alignment: Ensure beams are straight and level before tightening fully.
Step 5: Installing Crossbeams and Rafters
- Mark Spacing: Evenly mark where crossbeams will go along the main beams.
- Attach Crossbeams: Secure them using screws or brackets for a stable fit.
- Add Rafters (Optional): For additional shade and style, place rafters across the crossbeams.
Step 6: Adding Shade or Roofing
A pergola’s open roof can be left bare for sunlight or covered for more shade and weather protection. Options include:
- Lattice Panels: Great for climbing plants.
- Shade Fabric: Blocks sunlight while allowing airflow.
- Polycarbonate Panels: Offer UV protection and shelter from rain.
Attach your chosen covering securely, ensuring it is tensioned properly.
Step 7: Finishing Touches
- Paint or Stain: Apply a weather-resistant finish to protect against sun and rain.
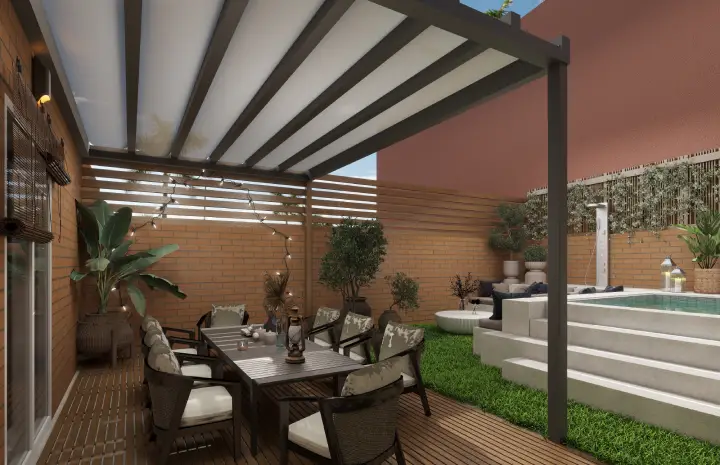
- Decorate: Add string lights, outdoor curtains, or hanging plants for a cozy atmosphere.
- Install Flooring (Optional): Lay pavers, tiles, or a wooden deck under the pergola for a polished look.
Step 8: Safety Checks
Before enjoying your pergola, perform a final inspection:
- Ensure all bolts and screws are tight.
- Check that posts are stable with no wobble.
- Confirm the structure is level and square.
This ensures your Freestanding Pergola Installation is safe and durable.
Professional vs. DIY Assembly
While many people successfully assemble pergolas themselves, hiring a professional has benefits:
- Expert Craftsmanship: Ensures perfect alignment and stability.
- Time Savings: Professionals can complete installation much faster.
- Code Compliance: They understand local regulations and safety standards.
If you’re unsure about any step or lack the necessary tools, professional Freestanding Pergola Installation is a smart choice.
Maintenance Tips for Your Freestanding Pergola
- Inspect Regularly: Tighten loose bolts and replace damaged components.
- Clean Surfaces: Remove dirt, mold, and debris to prevent deterioration.
- Reapply Finish: Restain or repaint every 1–2 years to maintain weather resistance.
- Trim Plants: If growing vines, keep them pruned to avoid excess weight on the structure.
Common Mistakes to Avoid
- Skipping accurate measurements, leading to uneven posts.
- Using non-weatherproof materials that rot or rust quickly.
- Not anchoring posts deep enough, causing instability.
- Overloading the roof with heavy coverings without proper support.
Final Thoughts
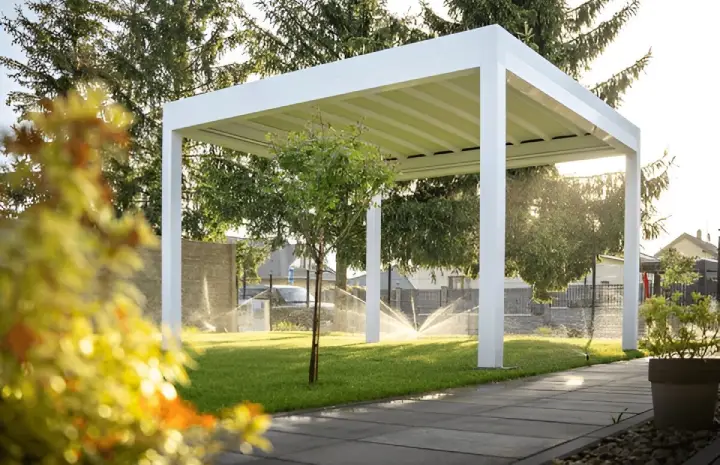
Building a freestanding pergola is a rewarding project that adds beauty, function, and value to your property. By following these assembly instructions step-by-step, your Freestanding Pergola Installation will result in a sturdy, attractive structure that enhances your outdoor living space.
Whether you go the DIY route or hire professionals, a well-built pergola offers years of enjoyment — from sunny afternoons to cozy evening gatherings.