Enhancing Outdoor Living with Roof Attached Pergolas
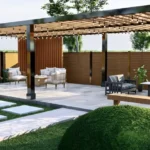
A roof attached pergola is one of the most practical and visually appealing additions you can make to any residential or commercial property. Unlike freestanding pergolas, a roof attached pergola connects directly to the structure of your home or building, making it a seamless extension of your indoor space. If you’re considering upgrading your exterior, a Roof Attached Pergola Installation offers a sleek, functional, and long-lasting solution.
Why Choose a Roof Attached Pergola?
The biggest advantage of a roof attached pergola is integration. By anchoring the pergola to your existing roofline, it becomes a natural continuation of your property’s design. This approach is especially useful in limited spaces or where zoning and boundary restrictions prevent freestanding structures.
Some of the main benefits include:
- Enhanced Aesthetics: These pergolas give a clean, architectural look that complements modern and traditional homes alike.
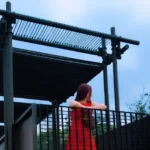
- Better Stability: Fixed directly to the structure, roof attached pergolas provide excellent stability against strong winds and seasonal changes.
- Efficient Use of Space: Unlike freestanding pergolas that require clearance on all sides, roof attached models make better use of corner walls or narrow patios.
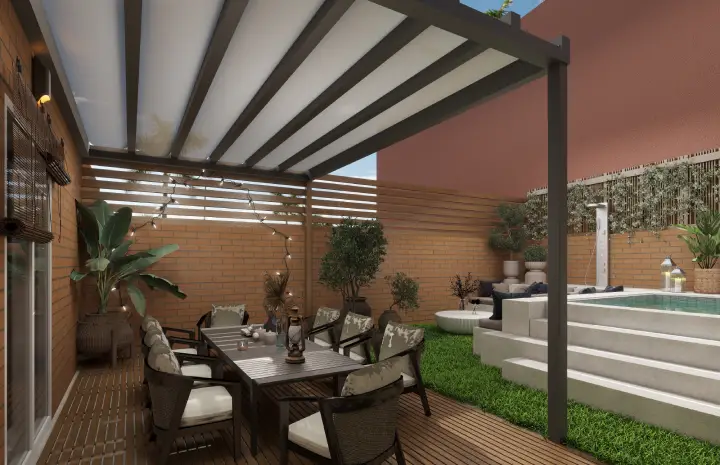
- Extended Living Space: By seamlessly connecting to your home, they expand usable living areas, ideal for outdoor dining, lounging, or entertainment.
Design Considerations for Roof Attached Pergola Installation
Designing a pergola that’s attached to your roof involves more than choosing materials and dimensions. You’ll need to think carefully about:
- Structural Load: The attachment point must support the added weight. A structural assessment is essential before installation.
- Roof Type Compatibility: Whether your roof is pitched, flat, or has eaves, your pergola design must align with its slope and height.
- Water Drainage: Ensuring proper runoff and waterproofing where the pergola connects to the roof is crucial to avoid leaks or damage.
- Sun Orientation: Consider how the sun moves over your space. The positioning of louvers or slats should maximize shade without blocking all natural light.
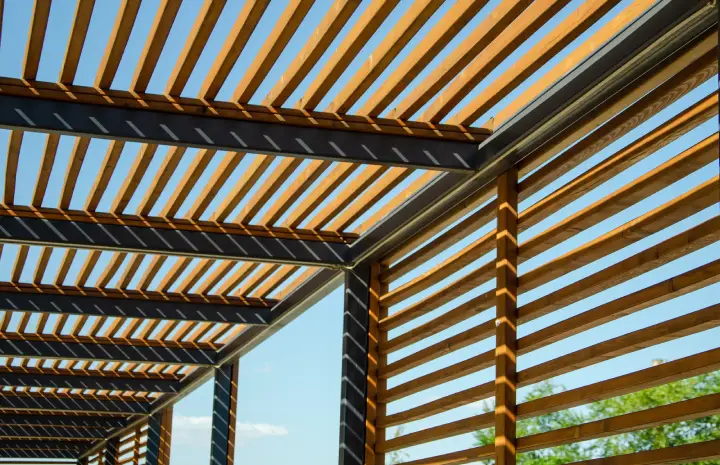
Popular Material Options
When planning a Roof Attached Pergola Installation, materials matter. Durability, appearance, and maintenance all vary based on the type you select.
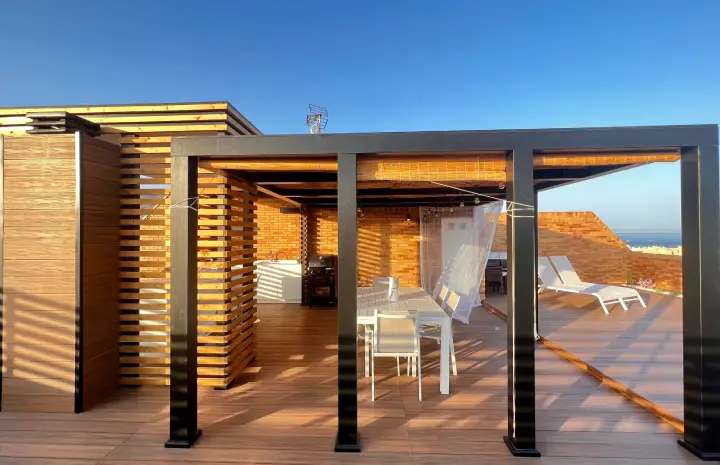
- Aluminum: Lightweight, rust-proof, and available in various powder-coated colors. Ideal for hot and humid climates.
- Wood: Offers a timeless, natural aesthetic but requires regular sealing or painting.
- Steel: Strong and durable, especially for larger spans, though it may require treatment against corrosion.
- PVC or Vinyl: Budget-friendly and easy to maintain but may not offer the same lifespan as metal or timber options.
Customization Features to Explore
A roof attached pergola doesn’t have to be basic. Today’s installations offer modern upgrades:
- Motorized Louvers: Adjustable slats that open or close with remote control.
- Integrated Lighting: Add LED strips or pendant lights to create ambiance for evening use.
- Ceiling Fans: Help circulate air, making your space comfortable even in the summer.
- Outdoor Curtains or Screens: Provide additional shade and privacy.
- Rain Sensors: For automated closing during rainfall, ideal for open-louver pergolas.
Installation Process Overview
Here’s what to expect during your Roof Attached Pergola Installation:
- Initial Consultation: This includes measurement of space, roof inspection, and identifying design preferences.
- Design Proposal: A 3D rendering or technical drawing shows how the pergola will attach and look.
- Permits and Approval: Depending on your location, municipal permits may be required.
- Fabrication: Custom parts are prepared according to your measurements and material selection.
- Installation: The structure is securely anchored to the fascia or beams of your roof. Finishing touches like lighting or paint follow.
- Inspection: A final walkthrough ensures structural safety and client satisfaction.
Maintenance Tips
Maintaining a roof attached pergola is simple if you follow a regular care routine:
- Clean gutters and drainage areas around the pergola connection.
- Inspect brackets and bolts yearly for rust or movement.
- Wash aluminum or vinyl parts with water and mild soap.
- For wooden pergolas, reseal or repaint every 2–3 years.
- Remove debris buildup to avoid mold, especially in shaded areas.
Best Locations for Roof Attached Pergolas
These pergolas are best suited for:
- Back patios
- Poolside extensions
- Side-yard pathways
- Rooftop terraces
- Garden walkouts from kitchen or living rooms
Their placement should always support the lifestyle you envision, whether it’s sipping coffee in the morning or hosting BBQs at sunset.
Why Professional Installation Matters
A roof attached pergola involves precise alignment, structural anchoring, and weatherproofing — all of which are best handled by experienced contractors. DIY may seem tempting, but it can lead to leaks, uneven slats, or weak stability if not executed properly.
Professional installers ensure:
- Compliance with building codes
- Secure connection to the house
- Waterproof flashing to prevent damage
- Safe electrical wiring for lights or fans
Final Thoughts
If you’re ready to upgrade your outdoor space with function and beauty, a Roof Attached Pergola Installation is one of the smartest investments. It boosts your property’s curb appeal while giving you a versatile space for year-round enjoyment.
Whether you’re going for a cozy patio retreat or an expansive entertainment area, make sure the structure is designed and installed with precision. With the right design, materials, and finishing touches, your pergola will be more than an outdoor structure — it’ll be your favorite part of home living.