How to Build a Freestanding Pergola?
A pergola is one of the most attractive and functional additions you can make to your outdoor living space. It adds shade, enhances aesthetics, and creates a cozy area for relaxation or entertainment. While some pergolas are attached to a building, a freestanding pergola stands independently, offering more flexibility in placement and design.
If you’re considering a Freestanding Pergola Installation, this guide will walk you through the process — from planning and preparation to construction and finishing touches.
What is a Freestanding Pergola?
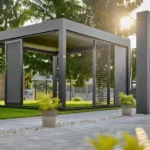
A freestanding pergola is an open-sided, roofed structure supported by columns or posts, not connected to your home or any other building. Its open roof framework can be left uncovered for sunlight or topped with shade fabric, climbing plants, or polycarbonate panels.
Because it’s independent, you can place it anywhere — in the garden, by the pool, or as a focal point in your backyard.
Benefits of Freestanding Pergola Installation
- Versatile Placement – Position it anywhere without structural attachment limitations.
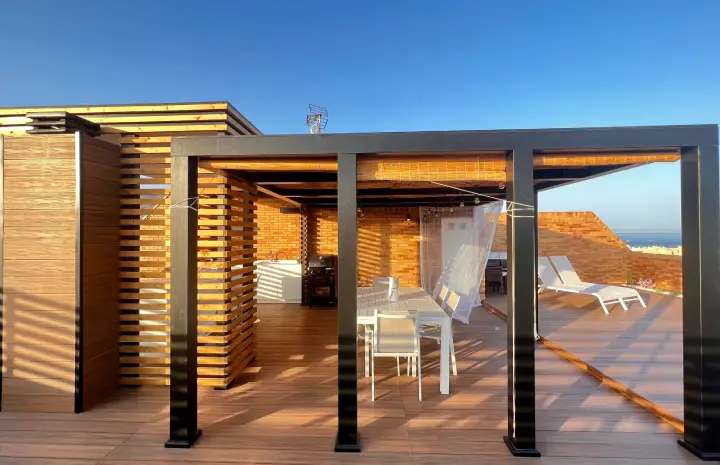
- Outdoor Living Space – Create a shaded dining, lounging, or entertainment area.
- Aesthetic Appeal – Adds architectural elegance to your property.
- Property Value – Enhances the overall appeal and resale potential of your home.
- Customization – Choose materials, size, and design to match your style.
Step-by-Step Guide to Building a Freestanding Pergola
Step 1: Plan and Design
Before starting construction, decide on the pergola’s size, shape, and location. Consider factors like:
- Sunlight direction for optimal shade
- Proximity to seating or outdoor features
- The view from your home or garden
- Whether you want it to host plants, lights, or curtains
It’s also essential to check local building codes and whether you need permits.
Step 2: Choose Materials
Common materials for freestanding pergolas include:
- Wood – Cedar and redwood are durable and naturally resistant to decay.
- Metal – Aluminum or steel offers a modern look and low maintenance.
- Vinyl – Weather-resistant and easy to clean.
Select materials based on climate, budget, and maintenance preferences.
Step 3: Prepare the Site
Clear the installation area of debris, rocks, and plants. Mark the exact placement of the posts using stakes and string to outline the structure.
Step 4: Install the Posts
The posts are the foundation of your pergola, so proper installation is crucial.
- Dig holes at least 24–36 inches deep (deeper for areas with frost).
- Place the posts upright in the holes, ensuring they’re level.
- Fill the holes with concrete and allow it to set for at least 24 hours.
For a long-lasting Freestanding Pergola Installation, use pressure-treated wood or rust-resistant metal posts.
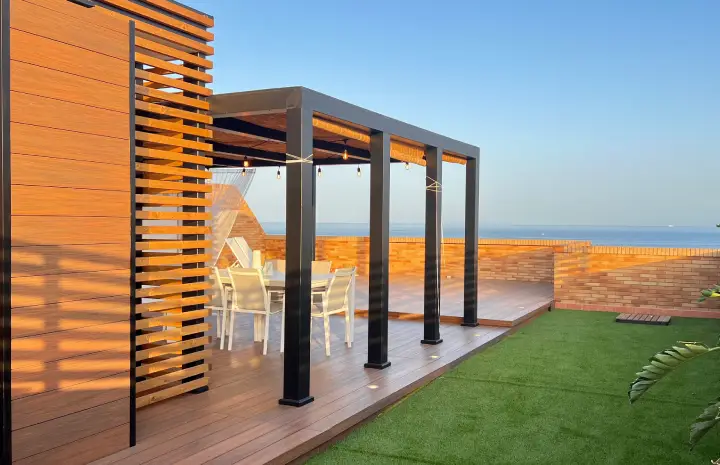
Step 5: Add the Beams and Crossbeams
Once the posts are secure, attach horizontal beams to connect them. Use heavy-duty bolts for stability. Then, attach the crossbeams across the top to form the open roof structure.
Step 6: Install Rafters or Shade Elements
Rafters provide partial shade and structural support for additional coverings. Depending on your design, you can also install:
- Lattice panels for climbing plants
- Shade cloth for sun protection
- Polycarbonate roofing for rain shelter
Step 7: Finishing Touches
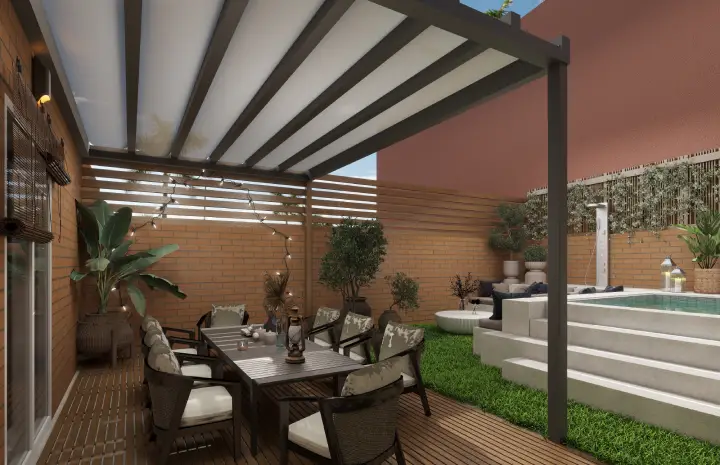
Sand wooden surfaces and apply a weather-resistant stain, paint, or sealant. For added ambiance, consider:
- String lights or pendant lamps
- Outdoor curtains for privacy
- Hanging plants or vines
- A ceiling fan for warm climates
Professional vs. DIY Freestanding Pergola Installation
DIY Installation – Ideal for experienced builders with the right tools and time. It can save on labor costs but requires precision to ensure stability and safety.
Professional Installation – Guarantees expert craftsmanship, code compliance, and durability. Professionals can also help with design customization and material selection.
If you want a perfect, long-lasting pergola without the hassle, hiring experts for your Freestanding Pergola Installation is the best choice.
Common Mistakes to Avoid
- Incorrect Measurements – Leads to uneven posts and instability.
- Poor Post Anchoring – Weak foundations cause the pergola to tilt or collapse.
- Wrong Material Choice – Using non-weatherproof materials can lead to quick deterioration.
- Ignoring Permits – Some areas require approval before construction.
Maintenance Tips for a Long-Lasting Pergola
- Inspect for loose bolts or screws every few months.
- Clean regularly to prevent mold, mildew, and rust.
- Reseal or repaint wood every 1–2 years.
- Trim climbing plants to prevent structural strain.
Final Thoughts
Building a freestanding pergola is a rewarding project that can transform your outdoor space into a stylish and functional retreat. Whether you go the DIY route or hire professionals, a well-planned Freestanding Pergola Installation offers years of enjoyment, increases your property’s appeal, and creates the perfect spot for outdoor gatherings.
By selecting quality materials, following proper construction techniques, and maintaining your pergola, you’ll enjoy a beautiful, durable structure that enhances your lifestyle and your home’s value.